In a previous post I had described on how to get similar functionality to an email enabled list without writing code using Microsoft Flow. There was a downside to that solution as it required messages to be forwarded from the Shared Mailbox to a personal mailbox in order for Microsoft Flow to pick them up – as the “New Email” trigger could not be pointed to a Shared Mailbox.
Since that time, Microsoft has added a new trigger (currently in preview) that allows emails coming to a Shared Mailbox to initiate a Microsoft Flow. Let’s take a look at this new trigger and see how it can be used to create a flow that mimics email enabled list functionality.
Also of note, in Feb ‘17, SharePoint Site Mailboxes have also been deprecated, so this serves as a way to get email enabiled list functionality back into SharePoint Online.
Create the Shared Mailbox
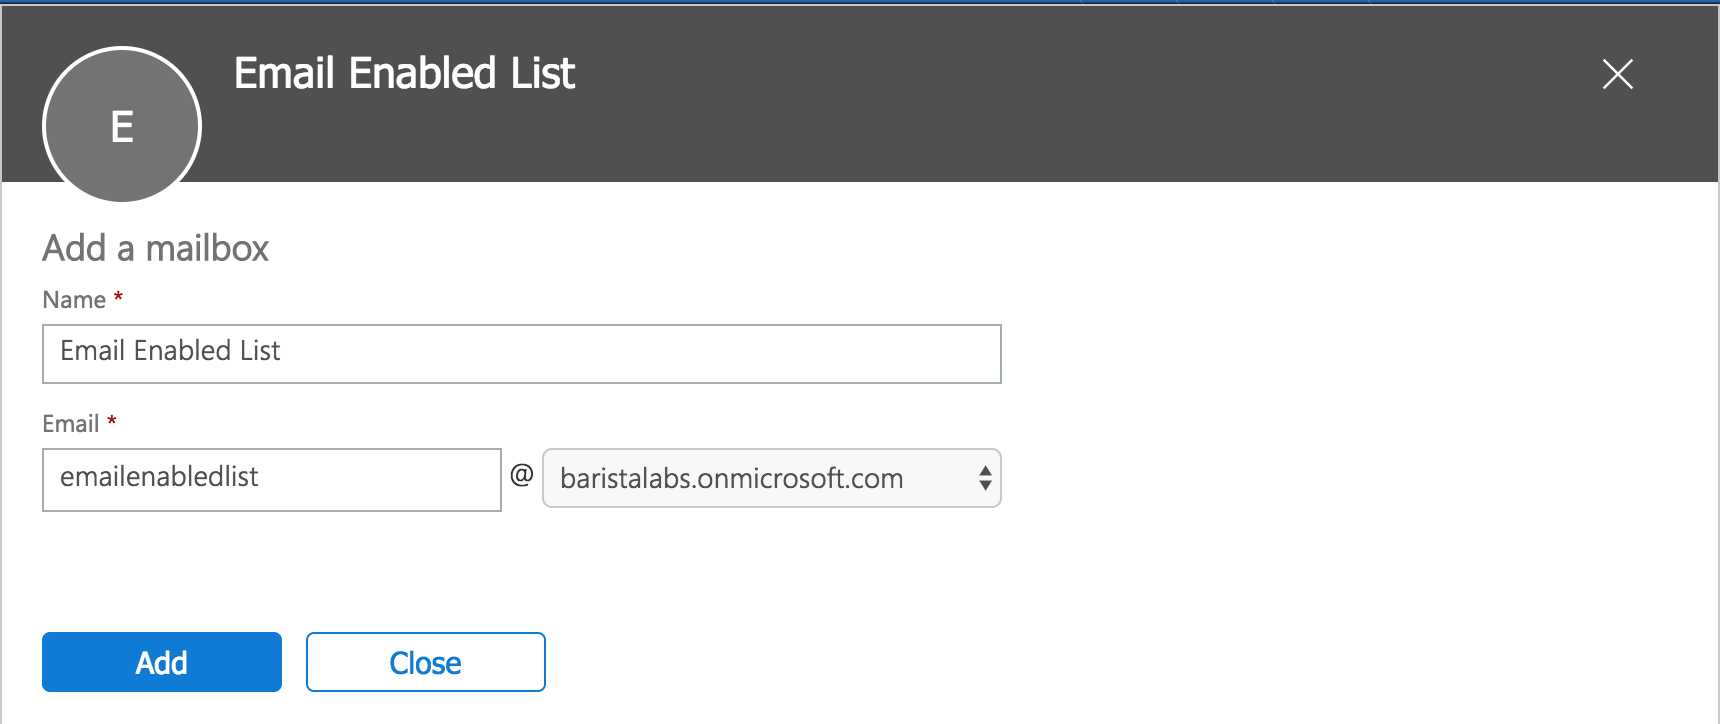
To get started, I’ll create a Shared Mailbox in Office 365 by going to the Admin Center Home -> Shared Mailboxes.
I created a shared mailbox creatively called “emailenabledlist”. This will be the email address that will recieve messages and through the Flow, place them in SharePoint.
Now, add yourself (or the user who will be creating the flow) as a member of the Shared Mailbox.
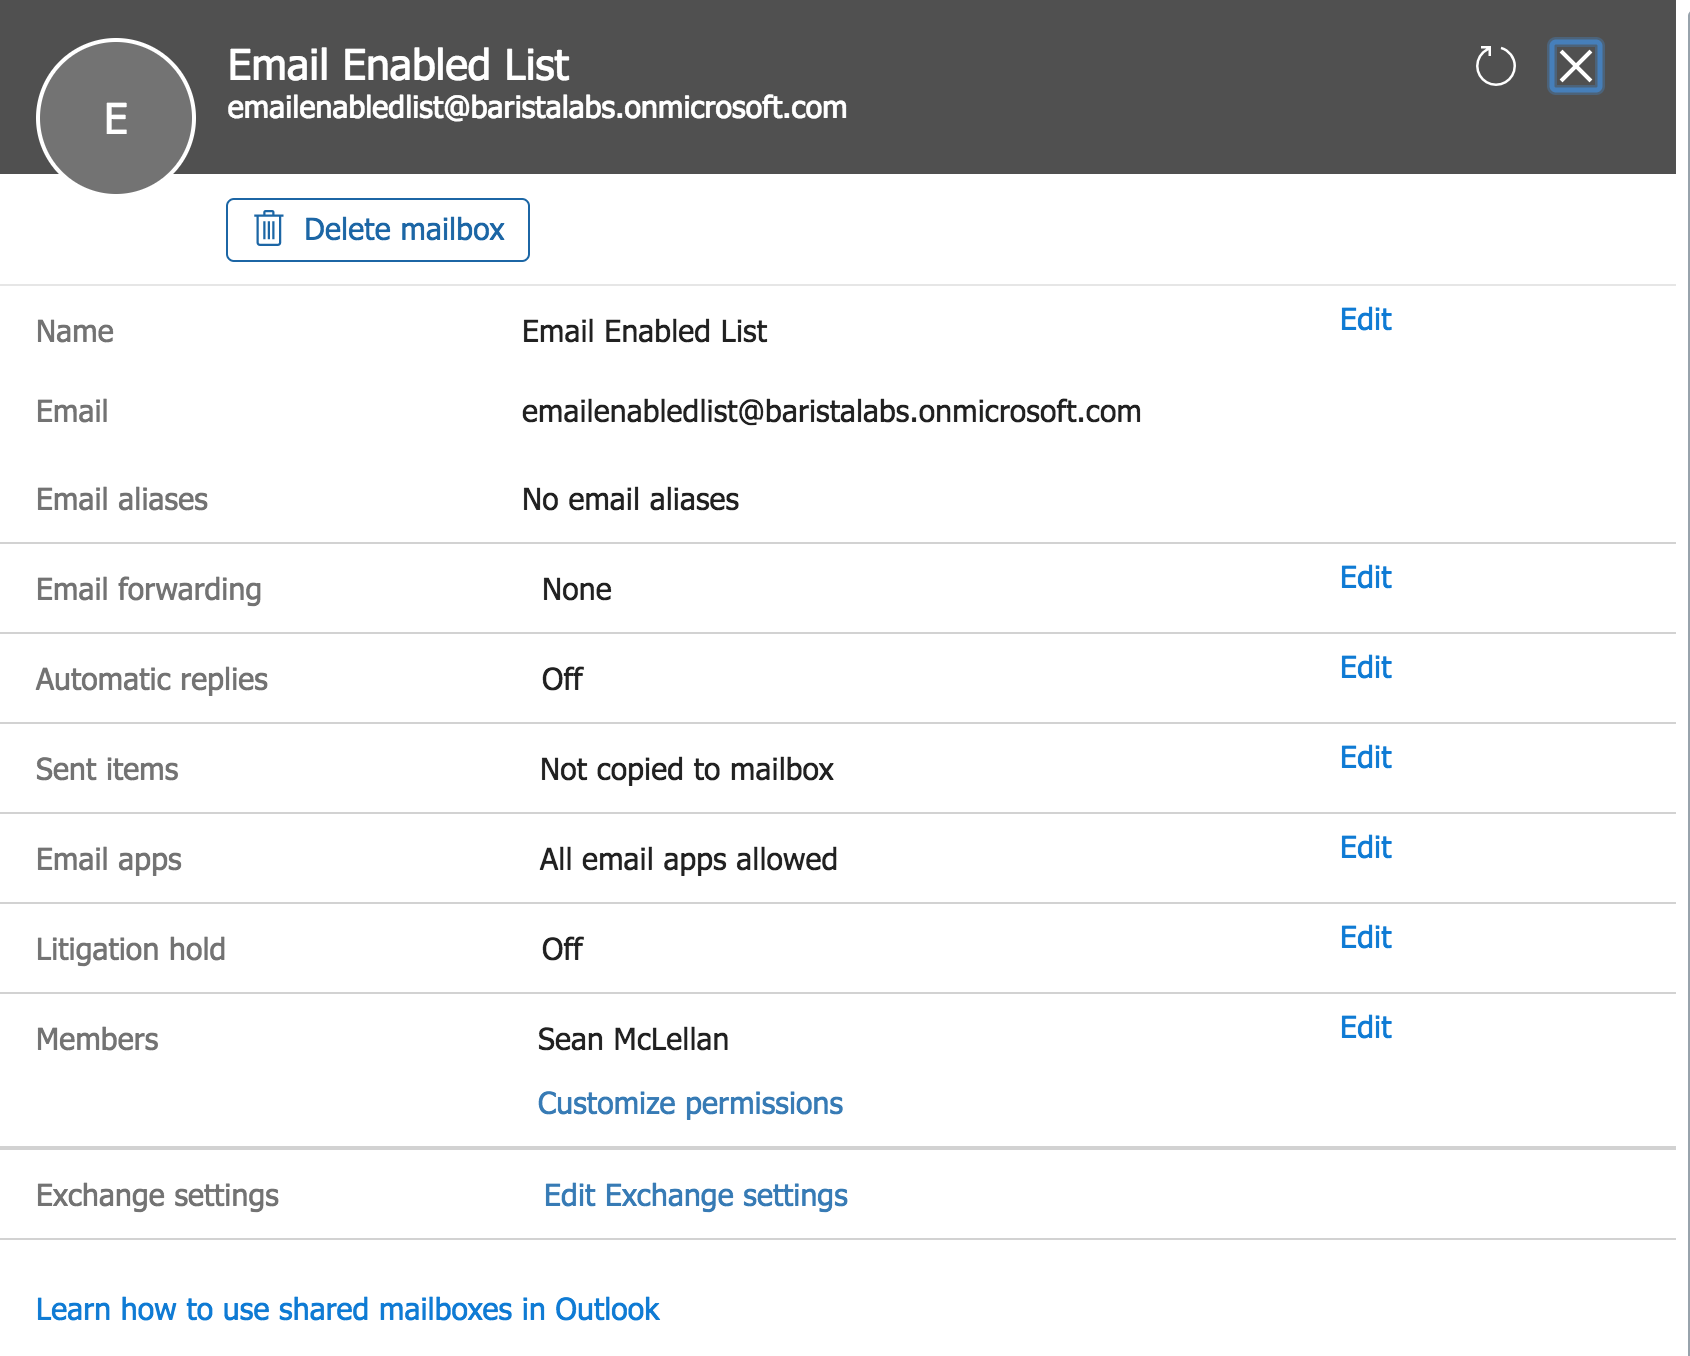
Previously, we auto-forwarded messages to a ‘Real’ mailbox. That’s not needed anymore, so at this point, we’re done creating the Shared Mailbox. Let’s start building the MS Flow.
Create the Microsoft Flow
Now that our Shared Mailbox has been created, we can create a Microsoft flow that uses the new Shared Mailbox trigger to initiate the flow.
Start with a “Blank Flow” and add the “When a new email arrives in a shared mailbox” trigger. This is the new trigger that has been added to MS Flow earlier in the year. If we look at the description we see that it reads:
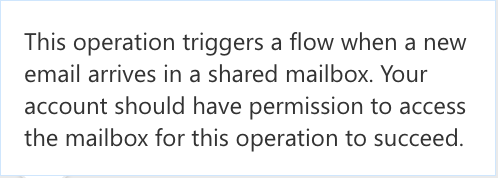
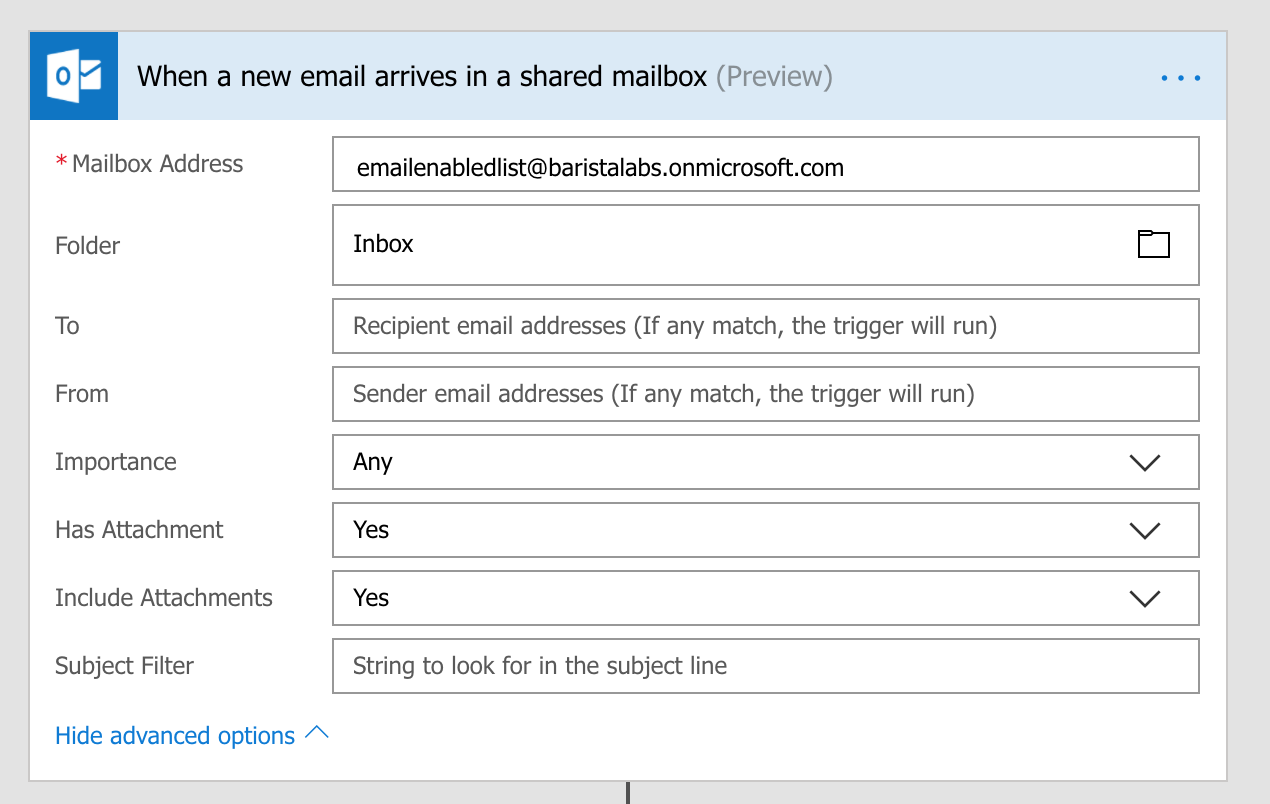
Sounds like just what we need. If we add it and start typing the name of the Shared Mailbox I set up earlier, we can see that the trigger is able to find the Shared Mailbox that we created. Sweet!
Important: You must press the folder icon and select the inbox directly after selecting the shared mailbox, otherwise your flow won’t be triggered. Also, the preview action has a bug where it auto-inserts a semi-colon at the end of the mailbox name, remove the semi-colon prior to clicking the folder icon.

Note: If you have recently deleted and then re-created a shared mailbox, you must remove the mailbox from the AD user recycle bin via AZ AD PowerShell prior to adding the shared mailbox trigger. Otherwise, you will recieve an error that states ‘The specified object was not found in the store., the process failed to get the correct properties.’
In this scenario, I only want mail messages that contain attachments to initiate my flow, so I’m going to expand the advanced options and select ‘Yes’ on ‘Has Attachment’. Also, select ‘Yes’ on include attachments.
Now, I’m going to add a ‘Create File’ SharePoint Action to my flow - specifying my SharePoint Site, the folder I want the attachments saved in (In my case, a document library I created called ‘incoming email attachments’), the name of the file to be the attachment name, and the contents of the file to be attachments.
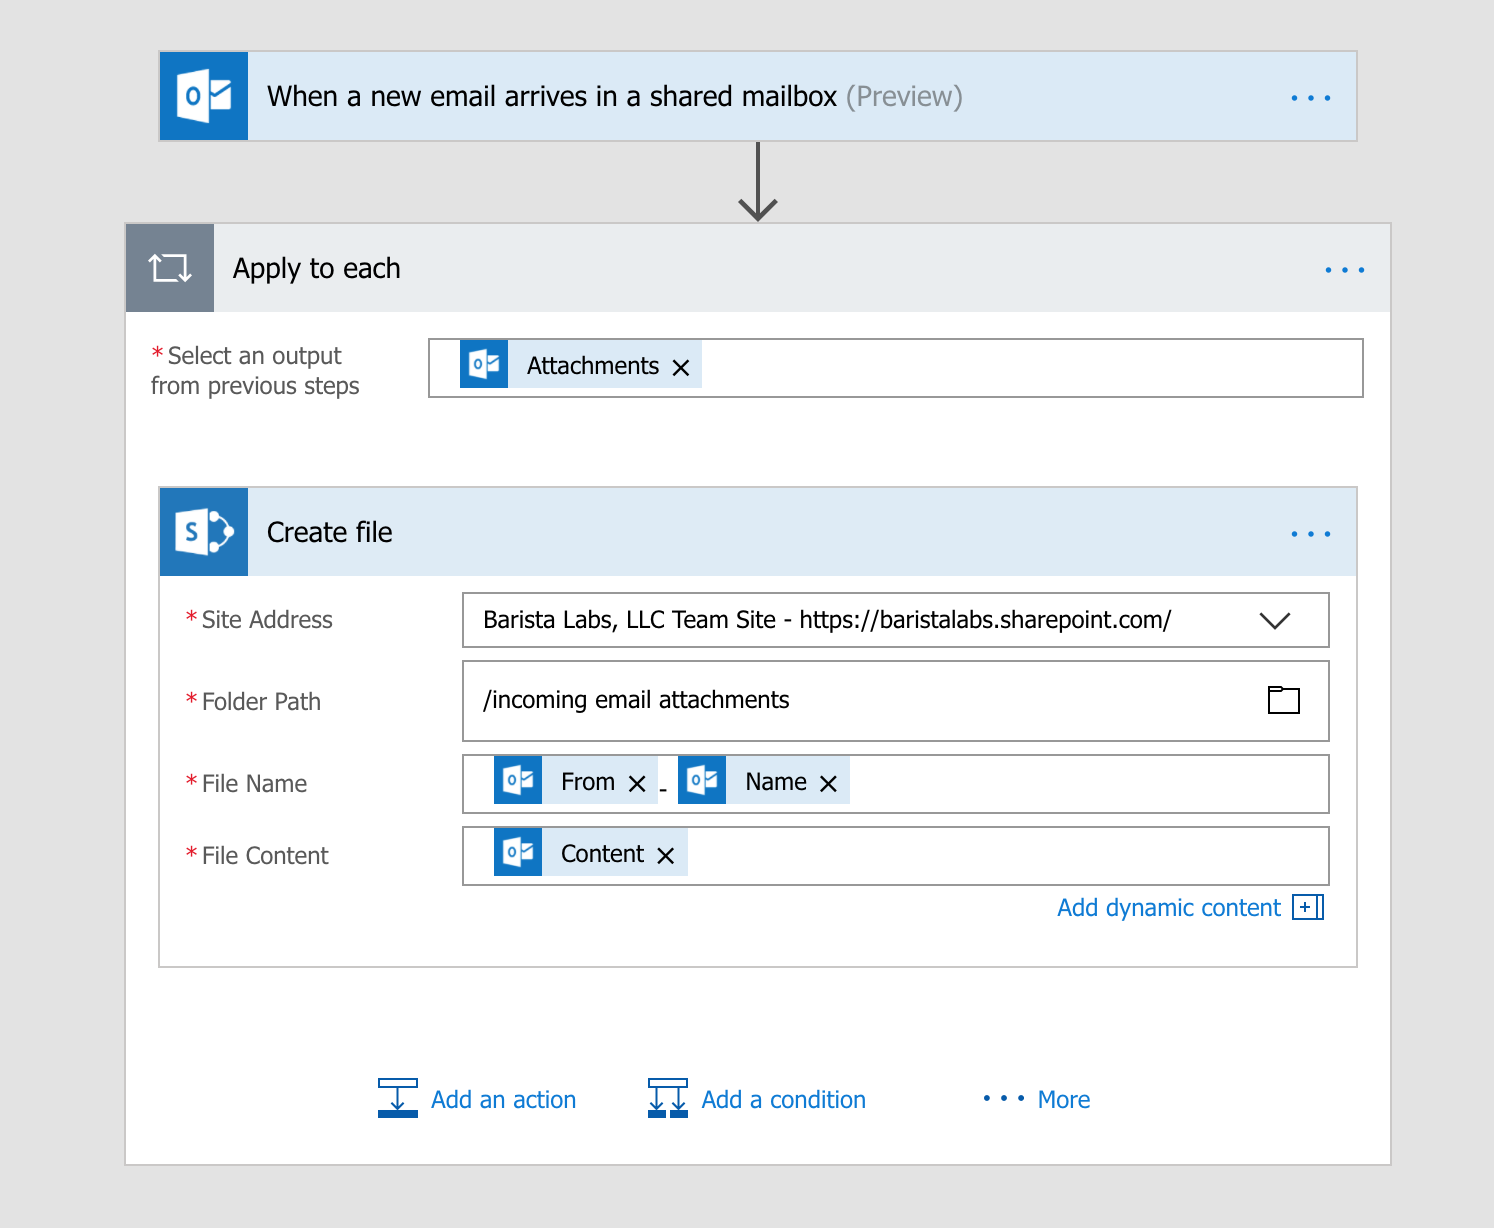
Note: When you associate the file name to the Attachment name, MS Flow automatically wraps the “Create File” action within an “Apply to Each” activity – this will save all attachments that are associated with an email to be saved. Awesome.
After clicking ‘Create Flow’ and clicking done, I should be able start testing to see if this all actually works.
I’ll send an couple of e-mails to emailenabledlist with attachments see if the attachments get to where they need to be….
…And here they are!

Conclusion
Things are getting better all the time, and although we don’t have out-of-the-box email enabled list functionality, with MS Flow we can easily create a no-code solution that allows us to replicate the feature. The new “Shared Mailbox” trigger that has been added to Microsoft Flow simplifies the process even more of creating a no-code solution to provide email-enabled lists.
